The muffler was now ready to be prepped for painting. I ran over the piping with fine steel wool, the same steel wool mentioned above used on the patch material. Then I went over the muffler body with it. The muffler body was covered in a coating of miscellaneous crap. Salt from the winter roads, some dirt, some rust, etc.. Plus I wanted to remove the top layer of paint to get a good base to paint on.
This required a lot of scrubbing with the steel wool. WEAR A MASK. There was so much dust in the air. I did not wear a mask (too lazy to run out of the basement to get one) and simply pulled my shirt over my nose. This did not work well. Wear a mask.
Once I had it all cleaned off I used lacquer thinner on a rag to wipe the entire exhaust system down with. From this point on I only handled the muffler from the hangers.
I then covered the stainless steel tips with newspaper and covered the portions of the hangers that the rubber mounts sit on with tape. I don't know if this was necessary but it will keep the paint from rubbing off the hanger and on to the rubber mount.
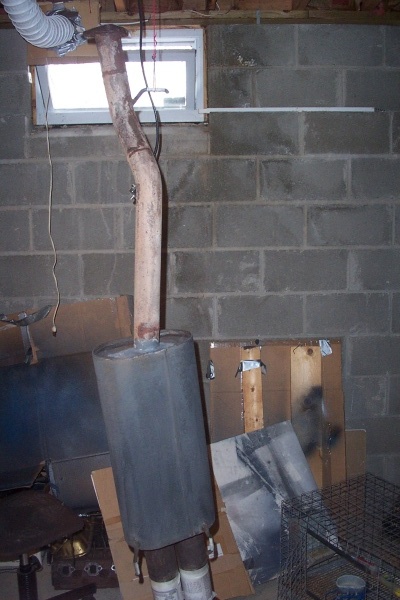
Pictures of the prepped muffler.
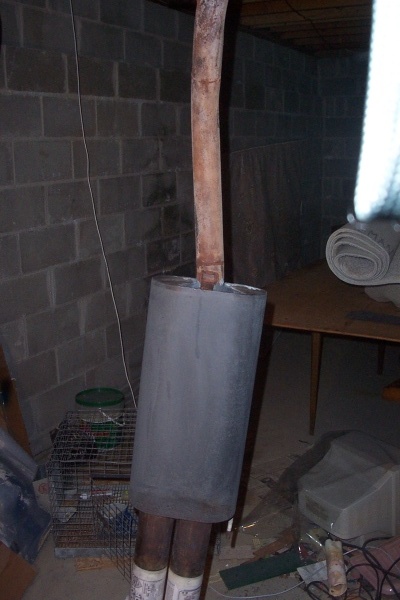
I hung the muffler in my basement, covering all surrounding items with cardboard and clear plastic. I have the window open and had two fans running. Painting in enclosed areas with no ventilation is bad. As it was, the ventilation was no antiquate.
You can see in these pictures the piping is still a whitish color from the rust converter.
You can also see some of the gray patch material I used around the base of the pipe going in to the muffler.